I remember the night I tried to make chicken nuggets for the first time and ended up with a kitchen that looked like a battlefield. The batter had turned into a sticky sludge, the oil hissed like a dragon, and the nuggets were either bone‑dry or soggy as a soggy sponge. I stared at the mess, feeling a mix of frustration and a spark of curiosity: what if I could actually nail the perfect nugget? That night, I was determined to find the secret that would transform a disaster into a culinary triumph.
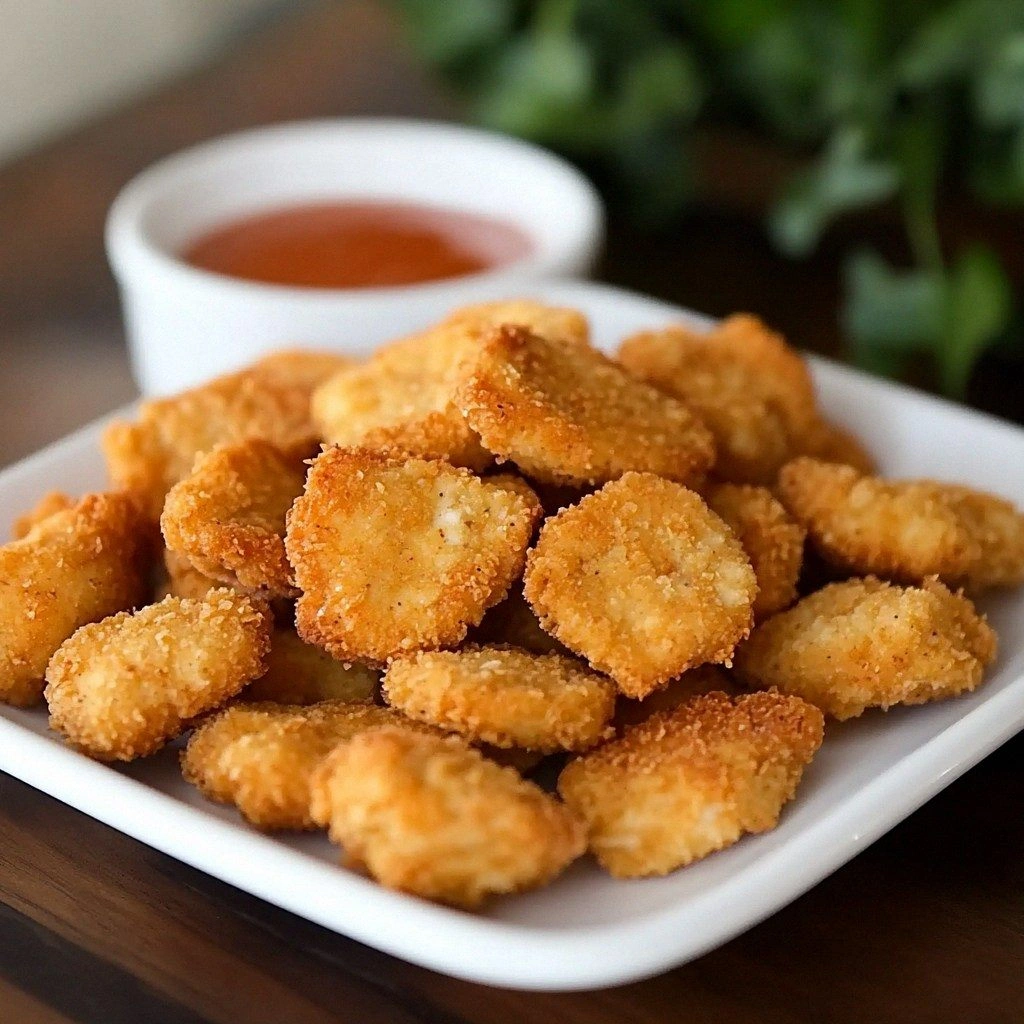
Fast forward a few weeks and I’ve been whipping up batches that leave my guests begging for the recipe. The aroma of golden, crispy crusts mingles with the savory scent of herbs, and the sound of sizzling is music to my ears. The first bite is a satisfying crack that gives way to a tender, juicy chicken core—like biting into a cloud that’s been pressed into a crunchy shell. And the best part? I’ve found a technique that makes the coating so light it almost floats.
This isn’t just another “copy‑paste” recipe you’ll find on the internet. It’s a meticulously crafted version that balances texture, flavor, and convenience. I’ve cut out the guesswork, added a few game‑changing tweaks, and even sprinkled in a little kitchen science to guarantee that every nugget is consistently crisp on the outside and succulent on the inside. The result? A dish that feels like a cheat code for the family dinner table.
And here’s the kicker: the secret sauce that makes these nuggets stand out isn’t a fancy ingredient, it’s a simple adjustment to the coating ratio that you can’t find in most recipes. I dare you to taste this and not go back for seconds. Let me walk you through every single step—by the end, you’ll wonder how you ever made it any other way.
What Makes This Version Stand Out
- Crust: The coating is a blend of flour, panko, and Parmesan that gives a light, airy crunch that shatters like thin ice when you bite into it. This texture is achieved by whisking the dry mix with a splash of cold water before dipping.
- Flavor: A balanced mix of paprika, garlic powder, onion powder, and a whisper of smoked salt brings depth without overpowering the chicken. The herbs are toasted just enough to release their oils, enhancing the overall taste.
- Juiciness: The chicken is marinated in a buttermilk mixture that tenderizes the meat, ensuring each bite stays moist. The buttermilk’s acidity breaks down protein fibers for a melt‑in‑your‑mouth experience.
- Speed: From prep to plate, the recipe takes less than an hour. The double‑dipping method means you can batch the coating process and keep the nuggets fresh for a short period.
- Make‑ahead: You can prep the coating and chicken ahead of time, refrigerate, and fry later without compromising texture. The coating stays crisp and the chicken remains tender.
- Kid‑friendly: The nuggets are bite‑size, making them ideal for little hands, and the seasoning can be dialed down or up to suit picky palates.
- Versatility: Whether you’re serving them with ketchup, honey mustard, or a homemade ranch, the base flavor profile pairs wonderfully with a variety of dips.
- Health‑conscious tweak: By using a light coating and minimal oil, you reduce fat content while still achieving that classic “fried” experience.
Inside the Ingredient List
The Flavor Base
The foundation of our nuggets starts with the chicken itself—fresh, boneless, skinless breast pieces cut into bite‑sized cubes. Choosing a lean cut ensures that the final product isn’t overly greasy, but a slight fat content keeps the meat from drying out. If you prefer a different protein, you can swap in ground turkey or even tofu for a vegetarian version.
The buttermilk is the secret tenderizer. Its lactic acid gently breaks down muscle fibers, creating a succulent interior. If buttermilk is unavailable, a mixture of milk and a tablespoon of vinegar or lemon juice will mimic the same acidity. Remember to let the mixture sit for five minutes before use; the acid needs time to work.
The Texture Crew
Flour and panko breadcrumbs form the backbone of the coating. The flour creates a light base that helps the coating adhere, while the panko adds crunch and prevents the coating from becoming soggy. For an extra burst of flavor, you can toast the panko in a dry skillet until golden before adding it to the dry mix.
Parmesan cheese is the final touch that gives the nuggets a savory depth and helps the coating brown beautifully. Grate fresh Parmesan for the best flavor; pre‑grated varieties often contain additives that can alter the coating’s texture.
The Unexpected Star
A pinch of smoked paprika and a dash of garlic and onion powder elevate the flavor profile. These spices are toasted lightly in the coating mixture to release their oils, which enhances the overall taste. If you’re a spice lover, feel free to add a pinch of cayenne for a subtle kick.
The Final Flourish
Salt and pepper are essential for bringing out the natural flavors of the chicken and coating. Use kosher salt for even seasoning and freshly ground black pepper for a sharp finish. A small amount of sugar can help the coating caramelize slightly, giving the nuggets a subtle sweetness.
Everything's prepped? Good. Let's get into the real action...
The Method — Step by Step
- Marinate the Chicken: In a large bowl, combine the diced chicken with the buttermilk, a teaspoon of salt, and a pinch of pepper. Toss until every piece is coated, then cover and refrigerate for at least 30 minutes—or up to 2 hours if you’re planning ahead. This step ensures maximum tenderness.
- Prepare the Dry Mix: In a shallow dish, whisk together the flour, panko breadcrumbs, grated Parmesan, smoked paprika, garlic powder, onion powder, and a pinch of sugar. The dry mix should feel like fine sand; it’s what gives the nuggets their signature crunch.
- First Dipping: Remove each chicken cube from the buttermilk, letting the excess drip off. Then, roll it in the dry mix, pressing gently to adhere. This first coating is thin and acts as a binder.
- Second Dipping: Dip each coated piece back into the buttermilk, allowing the coating to soak in. Then roll again in the dry mix, pressing firmly. This double‑dip technique creates a thick, crunchy shell that seals in moisture.
- Resting the Nuggets: Place the coated nuggets on a wire rack for 10 minutes. This brief rest allows the coating to set, preventing it from sliding off during frying. If you’re in a rush, you can skip this step, but the results will be slightly less crisp.
- Frying: Heat 2 tablespoons of oil in a deep skillet over medium heat until it reaches 350°F (175°C). Carefully slide a few nuggets into the hot oil, making sure not to overcrowd the pan. Fry for 3–4 minutes on each side until golden brown and crispy. The sizzling sound should be audible—this is your cue that the coating is caramelizing.
- Drain and Rest: Once fried, transfer the nuggets to a paper‑towel‑lined plate to absorb excess oil. Let them rest for 2 minutes; this allows the steam to escape and keeps the coating crisp.
- Serve: Plate the nuggets with your choice of dipping sauces—ketchup, honey mustard, or a homemade ranch. Pair them with a fresh salad or a side of sweet potato fries for a balanced meal.
That's it — you did it. But hold on, I've got a few more tricks that'll take this to another level. Let’s dive into some insider knowledge that will elevate your nuggets from good to legendary.
Insider Tricks for Flawless Results
The Temperature Rule Nobody Follows
The oil temperature is the secret to achieving that perfect golden crust. Use a thermometer to keep the oil steady at 350°F. If you’re using a stovetop, test the oil by dropping a small piece of bread; it should sizzle immediately and brown in about 60 seconds. A too‑low temperature will soak the coating, while a too‑high temperature will burn the exterior before the interior cooks.
Why Your Nose Knows Best
The aroma of frying is a reliable indicator of doneness. When the coating begins to turn golden and you smell a nutty, toasted scent, it’s time to flip. If you’re unsure, look for the first hint of a deep amber color; that’s your cue to turn the nuggets.
The 5-Minute Rest That Changes Everything
After frying, letting the nuggets rest on a rack for five minutes allows steam to escape, preventing the coating from becoming soggy. I once fried a batch and immediately plated them, and the result was a soggy center. The rest period is a small price for a crisp finish.
Double-Dip for Double Crunch
Skipping the second dip might save time, but you’ll sacrifice that signature crunch. The double-dip creates a layered coating that seals in moisture and gives a multi‑textured bite. Trust me, the extra effort is worth the reward.
Use Fresh Herbs for a Burst of Flavor
If you’re feeling adventurous, sprinkle fresh chopped parsley or basil over the finished nuggets. The herbs add a pop of color and a fresh, herbal note that cuts through the richness.
Creative Twists and Variations
This recipe is a playground. Here are some of my favorite ways to switch things up:
Spicy Sriracha Nuggets
Add a tablespoon of sriracha to the buttermilk mixture and sprinkle cayenne pepper into the dry mix. The result is a fiery kick that pairs wonderfully with a cool yogurt dip.
Cheesy Mac & Cheese Nuggets
Replace the Parmesan in the coating with shredded cheddar and fold in a few tablespoons of cooked macaroni. The nuggets become a comfort‑food mash‑up that kids adore.
Asian‑Inspired Sesame Nuggets
Stir a teaspoon of toasted sesame seeds into the dry mix and finish with a drizzle of soy sauce after frying. The nutty flavor and umami depth elevate the dish.
Herb‑Infused Lemon Zest Nuggets
Add lemon zest to the dry mix and a splash of lemon juice to the buttermilk. The citrus brightens the flavor and gives a refreshing finish.
Vegetarian Tofu Nuggets
Replace the chicken with firm tofu cubes, marinated in the same buttermilk substitute. The tofu absorbs the coating and delivers a protein‑rich, plant‑based alternative.
Gluten‑Free Nuggets
Swap the all‑purpose flour for a gluten‑free blend and use gluten‑free breadcrumbs. The texture remains crisp, and the dish stays safe for gluten‑sensitive diners.
Storing and Bringing It Back to Life
Fridge Storage
Place leftover nuggets in an airtight container and refrigerate for up to 3 days. The coating may soften slightly, but they’ll still taste great if reheated properly.
Freezer Friendly
For longer storage, freeze the nuggets on a parchment‑lined tray until solid, then transfer to a freezer bag. They can stay frozen for up to 2 months. Reheat directly from frozen for best results.
Best Reheating Method
The secret to resurrecting the crunch is to reheat in a hot oven (400°F) for 10 minutes, flipping halfway through. If you’re in a hurry, a quick sauté in a dry skillet works too. Before reheating, add a tiny splash of water to the pan to create steam, which keeps the coating from drying out.