I was standing in my kitchen, staring at a bowl of plain rolled oats that seemed to mock me with its blandness. The same night I’d been craving something comforting, something that could be whipped up in under an hour but still felt like a gourmet treat. The disaster that pushed me to create this recipe? I accidentally dropped the entire batch of oatmeal into the oven and the result was a sad, soggy mess that tasted like burnt cardboard. That moment was the catalyst for a revelation: baked oats can be blended, thickened, and caramelized into a dessert that feels like a breakfast pastry, yet it’s a full meal in its own right.
Picture this: the kitchen lights dim, a gentle hum of the oven, the scent of cinnamon and honey rising like a sweet fog. You hear the gentle crackle of the oats as they begin to toast, the faint clink of the spoon against the mixing bowl. The texture is a paradox—soft, almost custard-like in the center, with a golden, crisp crust that shatters like thin ice when you bite into it. The flavor is a layered symphony: the buttery richness, the subtle sweetness of honey, the warm spice of cinnamon, and the bright, almost citrusy lift of lemon zest. It’s the kind of dish that makes you want to linger over it, savoring each bite, and then, inevitably, reach for seconds.
What makes this version of baked oats stand out is that it’s not just a recipe—it's a process that transforms ordinary pantry staples into a showstopper. The trick lies in blending the oats with the liquids before baking, which creates a silky, uniform batter that distributes heat evenly. The addition of a small amount of baking powder gives the oats a subtle lift, making the final product airy yet dense enough to hold its shape. And the final touch—rolling the top in a mixture of cinnamon and sugar before baking—produces a caramelized crust that’s both sweet and slightly crunchy. This is hands down the best version you'll ever make at home, and I dare you to taste it and not go back for seconds.
If you’ve ever struggled with bland oatmeal or overcooked oat cakes, you’re not alone. I’ve spent countless evenings trying to crack the perfect texture, and this recipe is the culmination of those experiments. The result is a dish that is both comforting and sophisticated, with a flavor profile that can be tweaked to suit any palate. The best part? It’s incredibly forgiving, so even if you’re a novice, you’ll find the process intuitive and rewarding. Let me walk you through every single step—by the end, you'll wonder how you ever made it any other way.
What Makes This Version Stand Out
- Flavor: The blend of honey, vanilla, and lemon zest creates a complex sweetness that lingers, while the subtle spice of cinnamon adds depth. The oats absorb these flavors, resulting in a taste that feels both familiar and adventurous.
- Texture: The batter’s silky consistency ensures a creamy interior, while the caramelized crust provides a delightful crunch. This contrast feels like a pastry with a heart of custard.
- Simplicity: All you need are pantry staples—no fancy gadgets or hard-to-find ingredients. The process is straightforward and can be completed in under an hour.
- Uniqueness: By blending the oats before baking, you eliminate the uneven, dry spots that plague traditional oat cakes. The result is a uniform, melt-in-your-mouth experience.
- Crowd Reaction: Friends who’ve tried this rave about how it feels like a dessert but is actually a wholesome breakfast. The dish is a conversation starter at brunches and family gatherings.
- Ingredient Quality: Using fresh, high-quality oats and real butter elevates the dish. The simple ingredients shine when they’re the best they can be.
- Cooking Method: Baking at a moderate temperature ensures even cooking without burning the edges, giving you a consistent finish every time.
- Make‑Ahead Potential: Once baked, you can portion and freeze individual servings, making it a perfect grab‑and‑go breakfast for busy mornings.
Alright, let's break down exactly what goes into this masterpiece…
Inside the Ingredient List
The Flavor Base
At the heart of this dish are the oats, which provide both substance and structure. Rolled oats are preferred for their ability to absorb liquids without becoming mushy. If you’re a fan of a slightly chewy bite, opt for steel‑cut oats, but be prepared for a longer cooking time. The oats also carry the sweetness of honey and the warm undertones of cinnamon, making them the primary flavor carrier.
Honey is the natural sweetener that gives the oats a deep, golden sweetness. It’s not just a sugar substitute; honey’s floral notes add a layer of complexity that plain sugar can’t match. When blended with the oats, honey helps bind the batter, creating a cohesive texture. If you’re vegan, maple syrup is a suitable alternative, though it will alter the flavor slightly.
The Texture Crew
Eggs are the glue that holds everything together. They provide structure, lift, and a slight richness. Two large eggs are enough to bind the mixture without making it too dense. If you’re looking for a lighter version, replace one egg with a flaxseed egg or a commercial egg replacer.
Milk and almond milk create the liquid component that hydrates the oats. Using both gives a balanced flavor—whole milk adds creaminess while almond milk keeps the dish lighter. The ratio of 1 cup of each ensures a silky batter that doesn’t separate during baking. Skipping almond milk may result in a denser texture, so keep both for the best results.
The Unexpected Star
Cinnamon isn’t just for flavor; it also stabilizes the batter by binding the oats and liquids together. A half teaspoon is enough to infuse the dish with warmth without overpowering the honey. If you love spice, a pinch of nutmeg or allspice can be added for an extra kick.
Lemon zest adds a bright, citrusy note that cuts through the richness of butter and honey. A tablespoon of zest is sufficient to lift the dish, giving it a fresh, lively finish. For a more pronounced citrus flavor, add a splash of lemon juice, but be careful—too much liquid can affect the batter’s consistency.
The Final Flourish
Butter is the secret to that buttery, golden crust. Melted butter coats the oats, promoting even browning and a caramelized surface. A quarter cup is enough to coat the oats without making the batter greasy. If you prefer a dairy-free version, coconut oil is a great substitute.
Vanilla extract and almond extract are optional but highly recommended. They add depth and complexity, making the dish feel more refined. A teaspoon of each provides a subtle aroma that elevates the overall experience. If you’re allergic to almonds, you can omit the almond extract without compromising the flavor.
Everything's prepped? Good. Let's get into the real action...

The Method — Step by Step
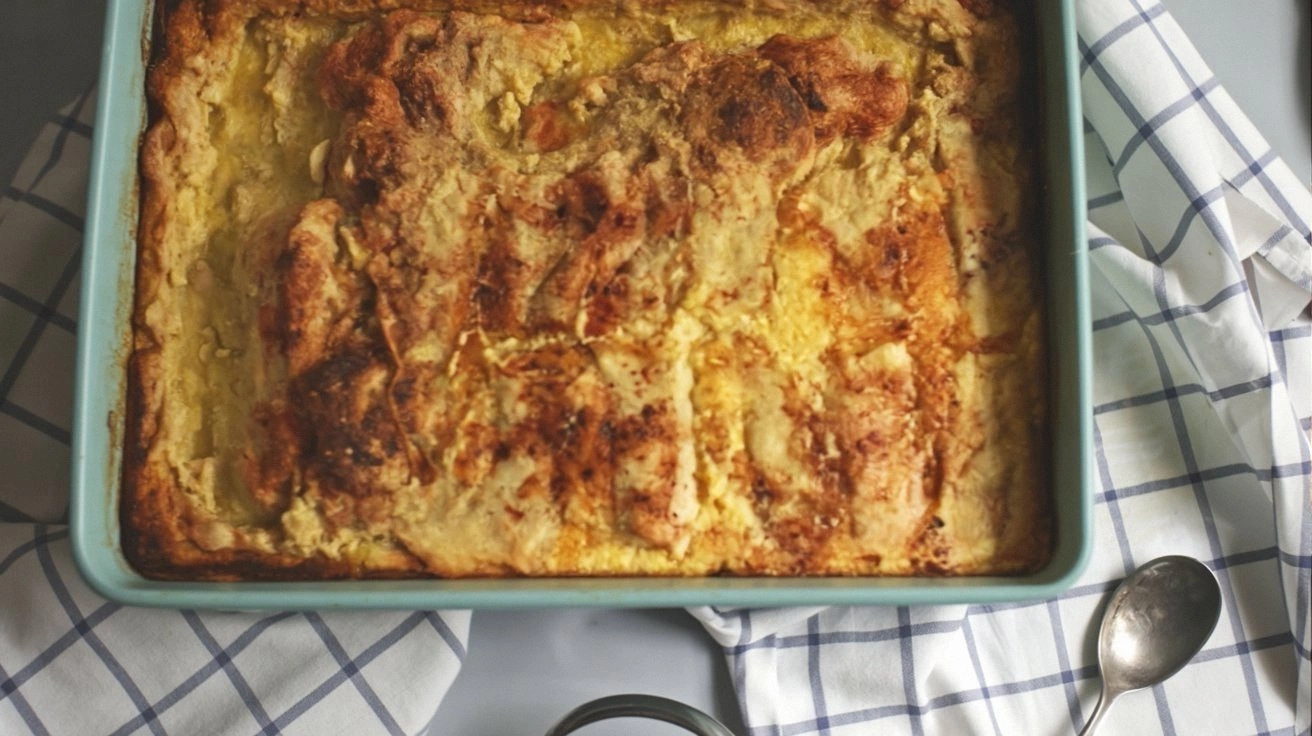
- Preheat your oven to 375°F (190°C). Line a 9‑inch square baking dish with parchment paper to prevent sticking. This step ensures an even bake and easy removal.
- In a large mixing bowl, combine the rolled oats, baking powder, cinnamon, and a pinch of salt. Whisk until evenly distributed. This dry mix is the foundation that will hold the batter together.
- In a separate bowl, whisk together the whole milk, almond milk, honey, melted butter, vanilla extract, and almond extract. The liquids should be warm enough to blend easily but not hot enough to denature the eggs.
- Crack the eggs into the liquid mixture and whisk until fully incorporated. The eggs will help bind the oats and create a smooth batter. This is the moment of truth—watch the batter’s texture change.
- Pour the wet mixture into the dry oat mixture and stir until just combined. Be careful not to overmix; a few lumps are acceptable and will create a slightly rustic texture.
- Fold in the dried cranberries and chopped walnuts. The cranberries add a burst of tartness while the walnuts contribute a nutty crunch. This step also adds visual appeal.
- Transfer the batter to the prepared baking dish and spread it evenly with a spatula. Sprinkle the lemon zest on top for a bright finish. The surface should be smooth to allow even browning.
- Bake for 25 to 30 minutes, or until the top is golden brown and a toothpick inserted near the center comes out clean. The edges should pull away slightly from the dish, indicating doneness.
That's it— you did it. But hold on, I've got a few more tricks that'll take this to another level. Let’s dive into the finer points that will elevate your baked oats from good to unforgettable.
Insider Tricks for Flawless Results
The Temperature Rule Nobody Follows
Many bakers think a higher temperature will give a crisper crust, but it actually burns the edges before the center cooks. Keep the oven at 375°F (190°C) to ensure even baking. If your oven runs hot, preheat a baking stone to absorb excess heat.
Why Your Nose Knows Best
Trust the scent as a cue for doneness. When the oats emit a warm, toasted aroma, you’re close to perfection. This olfactory guide is more reliable than a timer, especially if you’re multitasking.
The 5-Minute Rest That Changes Everything
After removing the dish from the oven, let the baked oats sit for five minutes. This rest period allows the batter to set, making it easier to slice cleanly. It also lets the flavors meld, creating a richer taste.
The Swirl Technique
If you love a marbled effect, swirl a spoonful of honey or maple syrup through the batter before baking. This not only adds visual interest but also creates pockets of sweetness that burst in your mouth.
The Quick Cool Trick
Place the baking dish on a wire rack to cool completely. This prevents the bottom from becoming soggy. If you’re short on time, you can transfer the dish to a chilled plate to speed up the process.
Creative Twists and Variations
This recipe is a playground. Here are some of my favorite ways to switch things up:
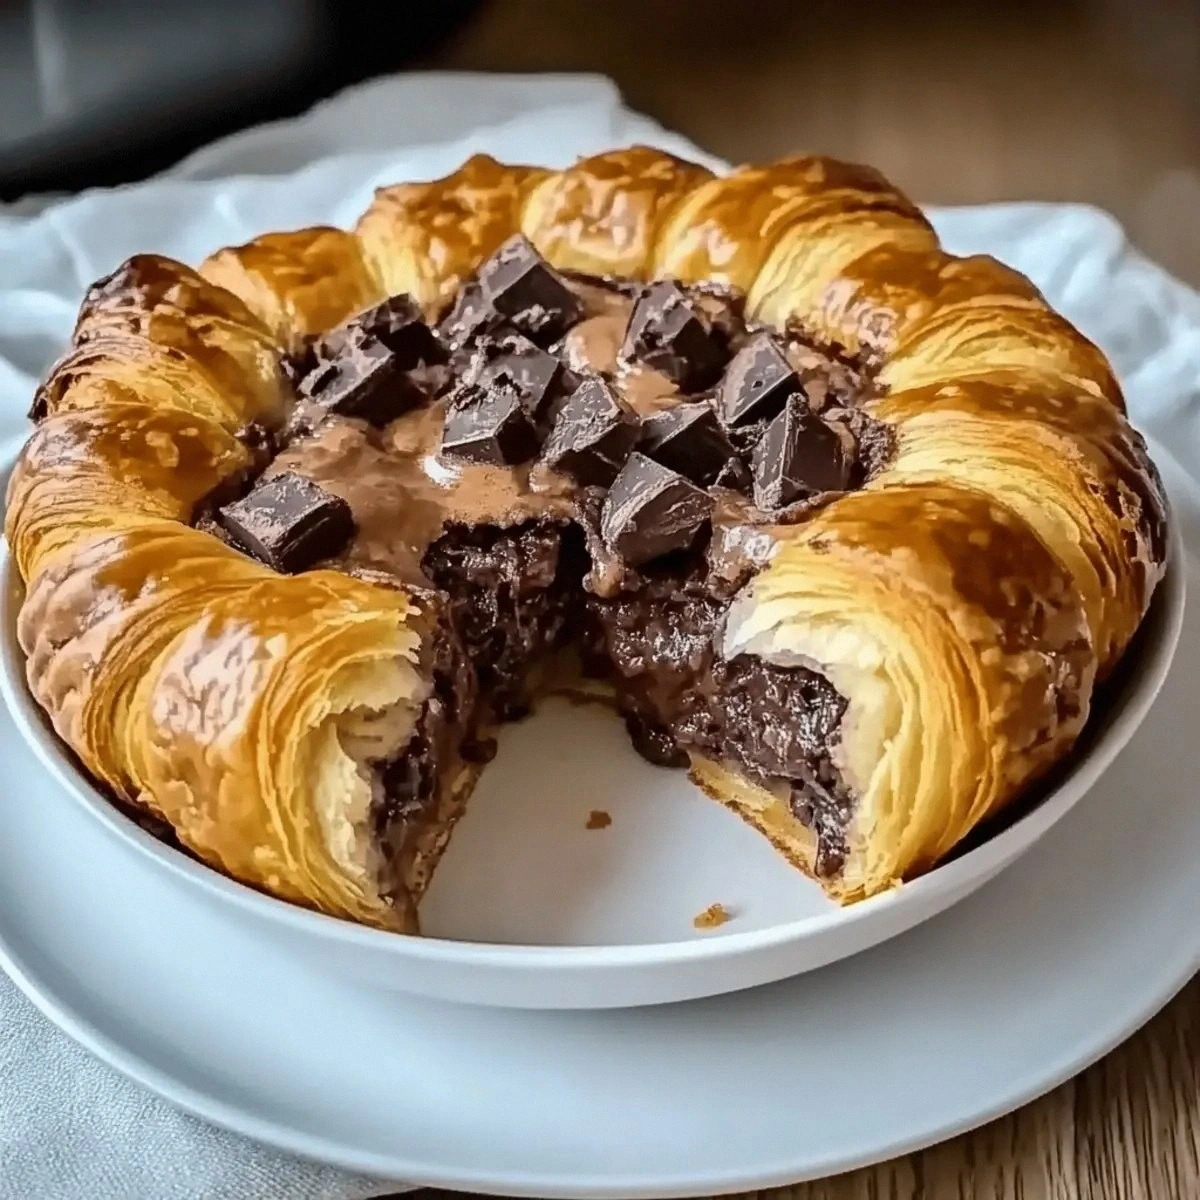
Cocoa‑Infused Chocolate Oats
Add a tablespoon of unsweetened cocoa powder to the dry mix for a chocolatey twist. Replace half the honey with chocolate syrup for an extra indulgent flavor. This version is perfect for a dessert breakfast.
Berry Burst
Swap the dried cranberries for fresh blueberries or strawberries. Fold them in after the batter is mixed to preserve their juiciness. The berries provide a bright, tangy contrast to the sweet oats.
Nutty Banana
Add a mashed ripe banana to the batter for natural sweetness and moisture. Replace the walnuts with slivered almonds for a different crunch. This variation is great for a quick, on-the-go snack.
Spiced Apple Cinnamon
Dice an apple and fold it into the batter along with a pinch of ground ginger. The apple’s natural sugars caramelize during baking, creating a sweet, spiced treat. This version is ideal for fall mornings.
Savory Herb Oats
Omit the honey and add fresh herbs like rosemary or thyme. Replace the butter with olive oil and sprinkle grated Parmesan on top before baking. The result is a savory, breakfast‑savory dish that pairs well with a poached egg.
Almond Joy
Add shredded coconut and chopped almonds to the batter. Drizzle a bit of coconut milk over the top before baking for extra moisture. This tropical twist turns the dish into a dessert‑like experience.
Storing and Bringing It Back to Life
Fridge Storage
Cool the baked oats completely before slicing. Store in an airtight container in the refrigerator for up to 5 days. The oats retain their moisture, keeping the texture tender.
Freezer Friendly
Wrap individual slices in parchment paper and place them in a freezer bag. Freeze for up to 3 months. Thaw in the refrigerator overnight or reheat directly from frozen.
Best Reheating Method
To reheat, place slices on a parchment‑lined tray and bake at 350°F (175°C) for 8–10 minutes. For a quick microwave option, add a splash of water, cover, and heat for 45 seconds. The tiny splash of water steams the oats back to perfection.