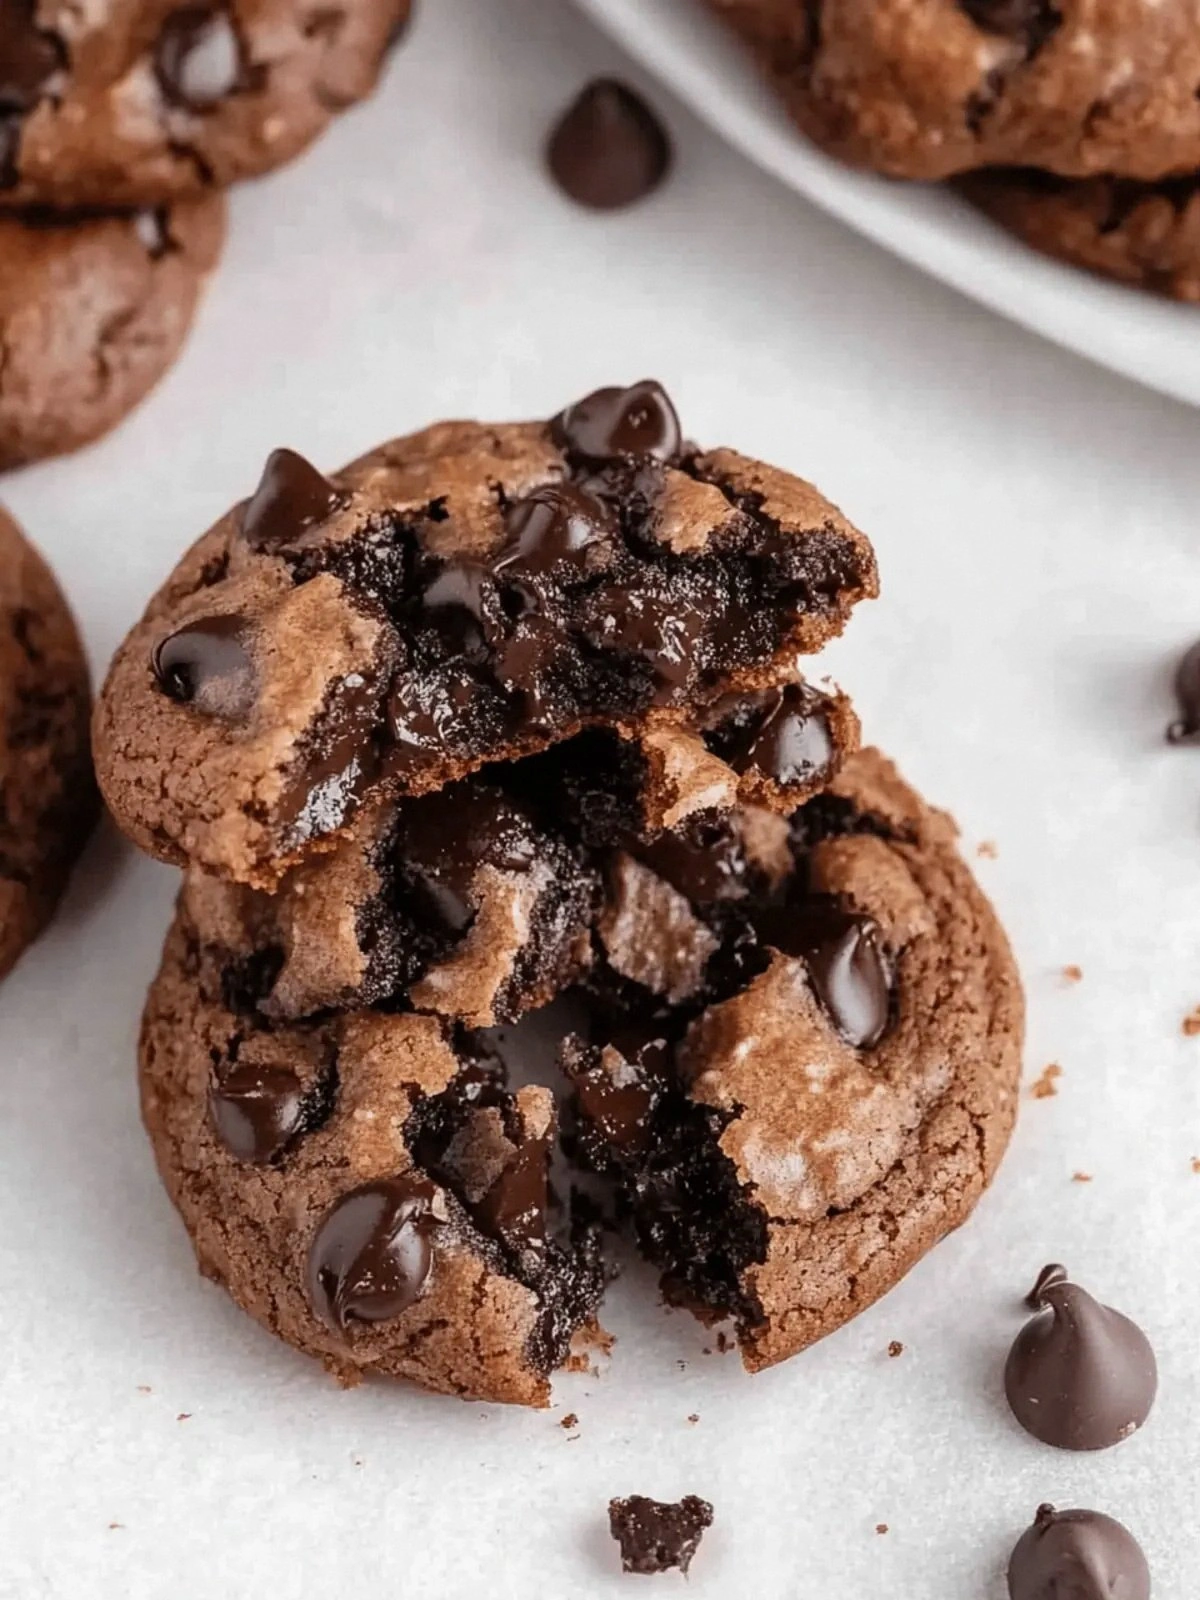
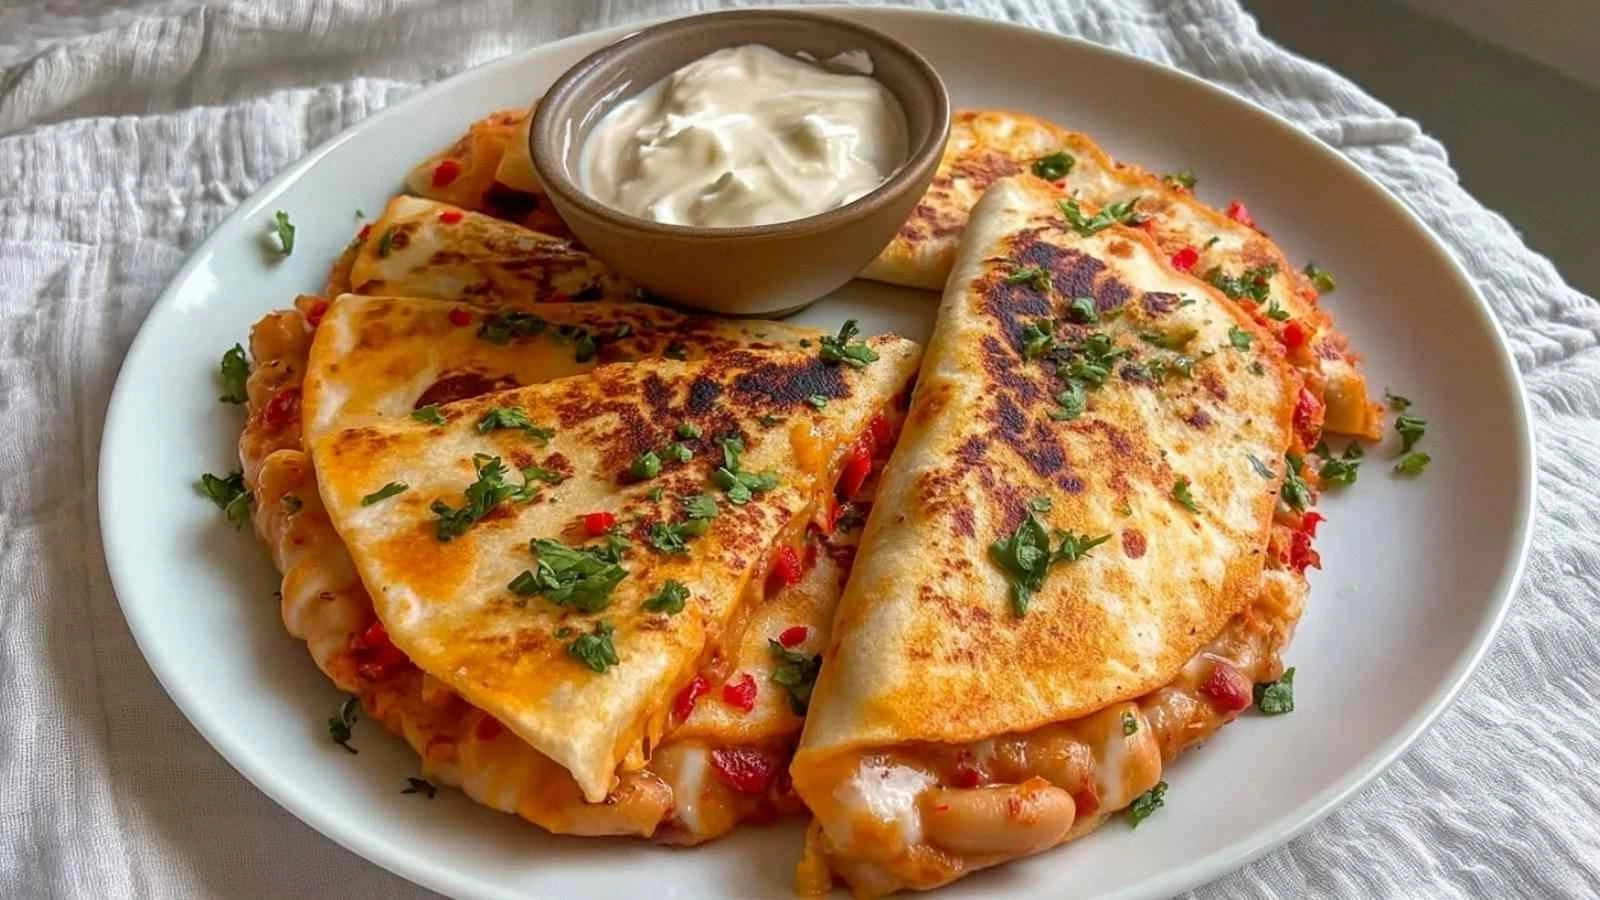
I will be honest—when I first tried to make a honey‑lemon chicken that didn’t taste like a soggy piece of poultry, I ended up with a burnt pan, a kitchen that smelled like a citrus war zone, and a half‑eaten “experiment” that somehow still managed to taste amazing. That chaotic evening turned into a revelation: the perfect balance of bright lemon zing, sweet honey glaze, and a crisp, caramelized finish is not a myth, it’s a science, and I finally cracked it. This version is the love child of a classic Chinese glaze and a Southern comfort vibe, and it has been tested on hungry friends, cranky toddlers, and that one uncle who claims he never eats anything “sweet‑savory”. I dare you to taste this and not go back for seconds.
Picture yourself walking into a kitchen where the air is thick with the fragrance of sizzling butter, the sweet perfume of honey, and a sharp citrus edge that makes your nose tingle in the best possible way. You’ll hear the satisfying hiss as the chicken hits the hot pan, a quiet sizzle that promises a crisp exterior, while your eyes are drawn to the golden‑brown edges that look as if they were brushed with liquid sunshine. The first bite delivers a crunch that shatters like thin ice, followed by a buttery, tangy sauce that clings to each morsel like velvet, and a lingering honey‑lemon afterglow that makes you sigh in contentment. It’s the sort of dish that makes your taste buds throw a party and refuses to let the invitations stop.
Most recipes get this completely wrong. They either drown the chicken in a syrup that turns soggy, or they slap on a lemon squeeze at the end and lose that deep caramelized character. Here’s what actually works: a quick dusting of cornstarch to create a light crust, a brief high‑heat sear to lock in juices, and a carefully timed glaze that builds layers of flavor without turning the meat into a sticky mess. The secret ingredient that most cooks overlook is a splash of soy sauce, which adds umami depth and helps the honey‑lemon coating achieve that glossy, restaurant‑quality sheen.
Okay, ready for the game‑changer? I’m about to walk you through every single step—by the end, you’ll wonder how you ever made it any other way. Stay with me here — this is worth it, because the payoff is a dish that looks impressive, tastes unforgettable, and practically cooks itself once you master the rhythm. Let’s dive in, and I promise you’ll be pulling this out of the pan with a grin that says, “I just nailed the best easy honey lemon chicken.”
What Makes This Version Stand Out
- Flavor Harmony: The honey provides a mellow sweetness that perfectly offsets the sharp, acidic bite of fresh lemon, while a dash of soy sauce introduces a salty umami backbone that keeps the palate from drifting into one‑dimensional sweet.
- Texture Triumph: A light cornstarch coating creates a lacquered crust that shatters delightfully under the fork, yet stays tender inside, delivering that coveted contrast between crunchy exterior and juicy interior.
- Simplicity Factor: You only need ten pantry staples and a single skillet—no fancy equipment, no multi‑hour marinating, just a ten‑minute prep and a half‑hour cook.
- Ingredient Quality: Using fresh, organic lemons and real, raw honey amplifies the natural brightness and depth of the sauce, turning a humble glaze into a gourmet experience.
- Crowd Reaction: This dish has a built‑in “wow” factor; even picky eaters who usually dodge citrus or sweet sauces end up reaching for seconds, and that’s the ultimate validation.
- Cooking Method: The high‑heat sear followed by a low‑simmer glaze locks in moisture while allowing caramelization, a technique that textbooks love but home cooks often skip.
- Make‑Ahead Magic: The glaze can be prepared in advance, stored in a jar, and the chicken can be cooked in batches, making it perfect for meal‑prep days without compromising flavor.
Inside the Ingredient List
The Flavor Base
Lemon juice is the bright star of this dish, cutting through the richness of butter and honey with a clean acidity that awakens the palate. Freshly zesting the lemon before juicing releases essential oils that add a fragrant, almost floral note you simply cannot achieve with bottled juice. If you skip the zest, you’ll notice a flatness in the sauce that makes the honey taste one‑dimensional. A good quality extra‑virgin olive oil helps to bind the glaze and adds subtle fruitiness, but you can swap it for avocado oil if you need a higher smoke point for that perfect sear.
The Texture Crew
Cornstarch is the unsung hero that creates that coveted, glossy coating; it forms a thin barrier that traps moisture while allowing the exterior to crisp up. Using too much will make the glaze gummy, so stick to the measured amount. The chicken itself should be boneless, skinless thighs for the best balance of flavor and juiciness—breasts can work, but they risk drying out if overcooked. A quick pat‑dry with paper towels before seasoning ensures the skin‑like crust adheres evenly. Butter is introduced at the end of the cooking process to enrich the sauce, giving it a silky mouthfeel that feels like a luxurious coat over the crisp chicken.
The Unexpected Star
Soy sauce might seem out of place in a “honey lemon” recipe, but its depth of flavor is the secret weapon that prevents the glaze from tasting one‑note sweet. It adds a subtle saltiness and that savory depth often found in Asian‑inspired dishes. If you’re avoiding gluten, switch to tamari—your sauce will stay just as robust. A pinch of red‑pepper flakes introduces a gentle heat that elevates the entire flavor profile without overwhelming the citrus brightness.
The Final Flourish
Freshly chopped parsley or cilantro is added at the very end, providing a herbaceous pop that brightens the dish before serving. This finishing herb not only adds color but also a fresh, slightly peppery aroma that cuts through the sweet‑savory glaze. If you love a little crunch, sprinkle toasted sesame seeds over the top—they bring a nutty undertone that harmonizes beautifully with the honey. Finally, a thin drizzle of extra honey right before plating adds a glossy sheen and a hint of sweetness that makes the dish look as good as it tastes.
Everything’s prepped? Good. Let’s get into the real action…
The Method — Step by Step
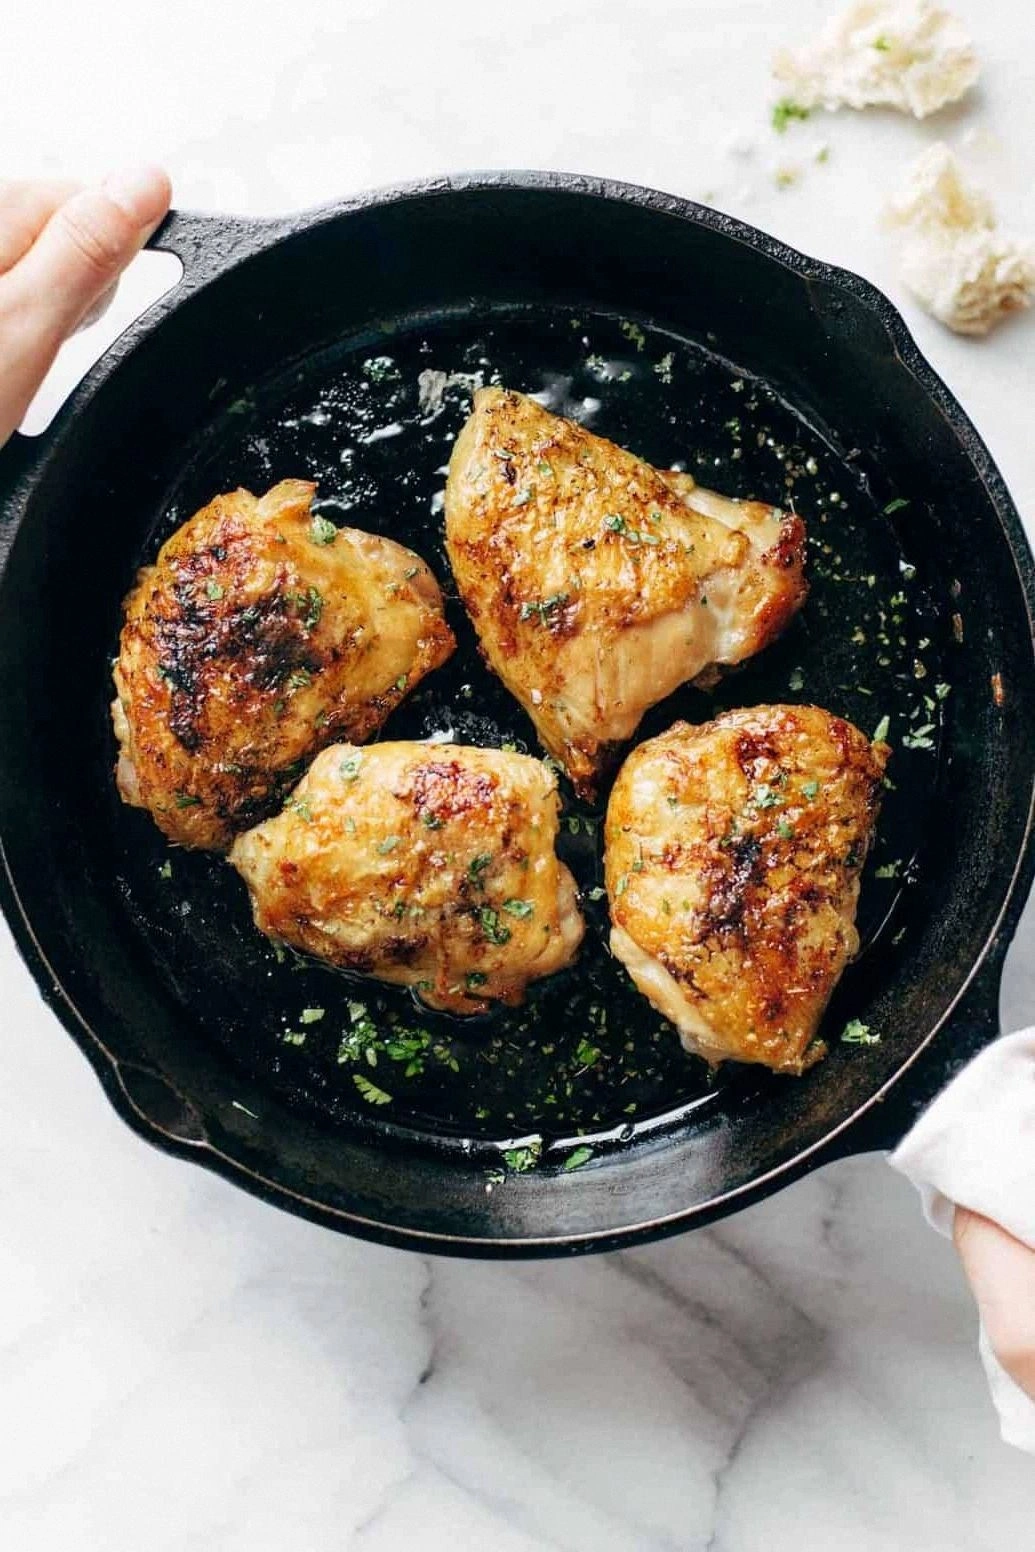
Gather all your ingredients and pat the chicken thighs dry with paper towels. This may sound trivial, but a dry surface is the foundation for a crisp crust; the sizzle should be audible the moment the meat meets the pan. Season the chicken on both sides with salt, pepper, and a generous pinch of garlic powder. As the seasoning hits the meat, you’ll notice a faint perfume start to rise—trust that scent, it’s a sign you’re on the right track.
Kitchen Hack: Sprinkle the cornstarch over the seasoned chicken and shake off excess by giving the bowl a quick toss; this ensures an even, feather‑light coating without clumps.Heat a large skillet over medium‑high heat and add a splash of olive oil. When the oil is shimmering—like a mirror on a summer pond—lay the chicken pieces skin‑side down (or the fattier side first). The edges should begin to brown within 2‑3 minutes, releasing that nutty, toasty aroma that tells you the Maillard reaction is in full swing. Avoid moving the pieces; let them develop that golden crust that will later shatter like delicate glass.
After the first side is beautifully browned, flip the chicken and sear the other side for another 2‑3 minutes. At this point, pour in the freshly squeezed lemon juice, zest, honey, soy sauce, and a pinch of red‑pepper flakes. The mixture will bubble vigorously, and that rapid steam is the cue to lower the heat just enough to keep it from scorching. Stir gently to coat every side; you’ll notice the sauce thickening and becoming glossy, clinging to the meat like a caramelized veil.
Watch Out: If the sauce starts to reduce too fast, add a splash of chicken broth or water; too little liquid will lead to a burnt glaze, while a too‑watery glaze loses that coveted stickiness.Reduce the heat to low and let the chicken simmer gently in the glaze for 8‑10 minutes. During this time, the sauce will further concentrate, becoming a thick, amber‑colored glaze that slides over the chicken with a silk‑like sheen. The nose will pick up a sweet‑citrus perfume that makes your stomach rumble. To test doneness, insert a meat thermometer into the thickest part; you’re aiming for 165°F (74°C). The meat will be juicy, and the glaze will have caramelized into a glossy coating.
Just before the chicken finishes cooking, stir in a tablespoon of cold butter, one piece at a time, allowing each cube to melt fully before adding the next. This technique, called “monter au beurre,” enriches the sauce and gives it a velvety mouthfeel that feels like a buttery whisper on the tongue. Once the butter is emulsified, turn off the heat and let the chicken rest in the pan for a couple of minutes; this rest period lets the juices redistribute and the glaze to settle into a perfect, clingy finish.
Transfer the chicken to a serving platter, spoon the remaining glaze over the top, and sprinkle with freshly chopped parsley and a dusting of toasted sesame seeds. The bright green parsley adds a visual pop, while the sesame seeds introduce a delicate crunch that complements the tender meat. Your kitchen should now smell like a citrus orchard after a summer rain—pure, inviting, and impossible to ignore.
Serve the honey lemon chicken alongside steamed jasmine rice, roasted vegetables, or a simple mixed greens salad. The starch will soak up any leftover glaze, turning each bite into a harmonious blend of sweet, sour, and savory notes. Pair with a glass of chilled Sauvignon Blanc or a light sparkling water with a slice of lemon for a truly balanced meal.
And now the fun part—taste testing! Grab a fork, cut into the crisp edge, and notice how the glaze cracks softly before releasing a burst of juice. That moment when the sauce coats the chicken like a silky veil while the meat remains moist is pure culinary bliss. I dare you to try this version with a skeptical friend and watch their eyes widen. If they ask for the recipe, you’ll have earned the title of “go‑to chicken guru” for life.
That’s it — you did it. But hold on, I’ve got a few more tricks that’ll take this to another level…
Insider Tricks for Flawless Results
The Temperature Rule Nobody Follows
Never start the chicken straight from the fridge; let it sit at room temperature for 15‑20 minutes. This small step eliminates the shock of cold meat hitting a hot pan, ensuring an even sear and preventing the interior from staying raw while the exterior over‑cooks. I once tried to skip this and ended up with a rubbery center—lesson learned. The difference is noticeable: the crust forms quickly, sealing in juices, and the meat remains juicy throughout.
Why Your Nose Knows Best
Your sense of smell is an underrated cooking gauge. When the glaze starts to lift off the pan’s surface in a thin, shimmering ribbon, that’s the cue that the sugar has caramelized without burning. If you catch a faint burnt sugar smell, lower the heat immediately; otherwise, you’ll end up with a bitter, charred flavor that ruins the dish’s balance. Trust that aromatic cue more than any timer.
The 5‑Minute Rest That Changes Everything
After you’ve finished cooking, let the chicken rest, uncovered, for exactly five minutes. This short pause allows the juices to redistribute, preventing them from spilling out when you slice into the meat. The glaze also has a final chance to thicken as it cools slightly, creating a glossy coating that stays put. I used to slice immediately and end up with a soggy plate; this restful intermission turned my plating from sloppy to stunning.
Butter Finish for a Silky Finish
Adding cold butter at the end is the culinary equivalent of a mic drop. It not only enriches the sauce but also brings the glaze to a perfect emulsion that clings to each bite. Make sure the butter is cold and add it piece by piece; this prevents the sauce from separating and guarantees that glossy, restaurant‑style finish we all crave.
Seasonal Citrus Swaps
If lemons are out of season or you simply crave a different flavor profile, try yuzu or Meyer lemons for a sweeter, less acidic twist. Both maintain the bright note but add a nuanced aroma that can elevate the dish to a new level. I tried yuzu once and the dish took on a subtle floral edge that impressed even my most critical friends.
Creative Twists and Variations
This recipe is a playground. Here are some of my favorite ways to switch things up:
Spicy Szechuan Kick
Add a tablespoon of Szechuan peppercorn oil to the glaze and increase red‑pepper flakes to a teaspoon. The result is a tongue‑tingling heat that pairs brilliantly with the sweet honey, creating a contrast that’s both thrilling and comforting. Great for those who love a bit of adventure in their dinner.
Herb‑Infused Elegance
Stir in a handful of fresh thyme and rosemary during the simmering stage. The herbaceous notes mingle with the citrus, offering a more earth‑forward profile that works beautifully with roasted potatoes on the side. This variation feels like a sophisticated spring dinner.
Asian Fusion Noodles
Toss the cooked chicken and leftover glaze with soba noodles, sliced scallions, and toasted sesame seeds. The noodles soak up the sauce, turning the dish into a hearty, one‑pan meal that’s perfect for busy weeknights. It’s a quick pivot from plate to bowl without sacrificing flavor.
Honey‑Lemon BBQ
Swap the skillet for a grill, brushing the chicken with the glaze every few minutes as it cooks over medium‑high heat. The smoky char adds depth, while the glaze caramelizes on the grill grates, delivering that coveted “BBQ” kiss. Serve with coleslaw for a classic backyard vibe.
Coconut‑Lime Remix
Replace half of the butter with coconut milk and swap lemon juice for fresh lime juice. The tropical twist brings a buttery richness and an extra layer of acidity that pairs wonderfully with jasmine rice. This version transports you to a beachside shack with just a fork.
Storing and Bringing It Back to Life
Fridge Storage
Place cooled chicken and any remaining glaze in an airtight container and refrigerate for up to three days. The flavors actually meld further, making the second day even more aromatic. When reheating, add a splash of water or broth and gently warm over low heat to revive the glaze’s sheen.
Freezer Friendly
For longer storage, separate the chicken from the glaze, wrap each portion in parchment paper, then seal in a zip‑top freezer bag. In the freezer, the chicken keeps well for up to two months. To reheat, thaw overnight in the fridge, then follow the stove reheating method, adding a little extra honey if the sauce has dulled.
Best Reheating Method
The secret to a perfect reheated bite is gentle steam. Place the chicken in a skillet with a tablespoon of water, cover, and heat over medium‑low for five minutes. Uncover, add the saved glaze, and finish with a quick toss. The result is a revived crispness and a glossy sauce that feels freshly made.